Include Images
Including an image using rmarkdown is easy.
In the files pane in RStudio choose New Folder (or create one in your Finder in the Rproject folder). Call it say images.
To reference an image in rmarkdown use the following.

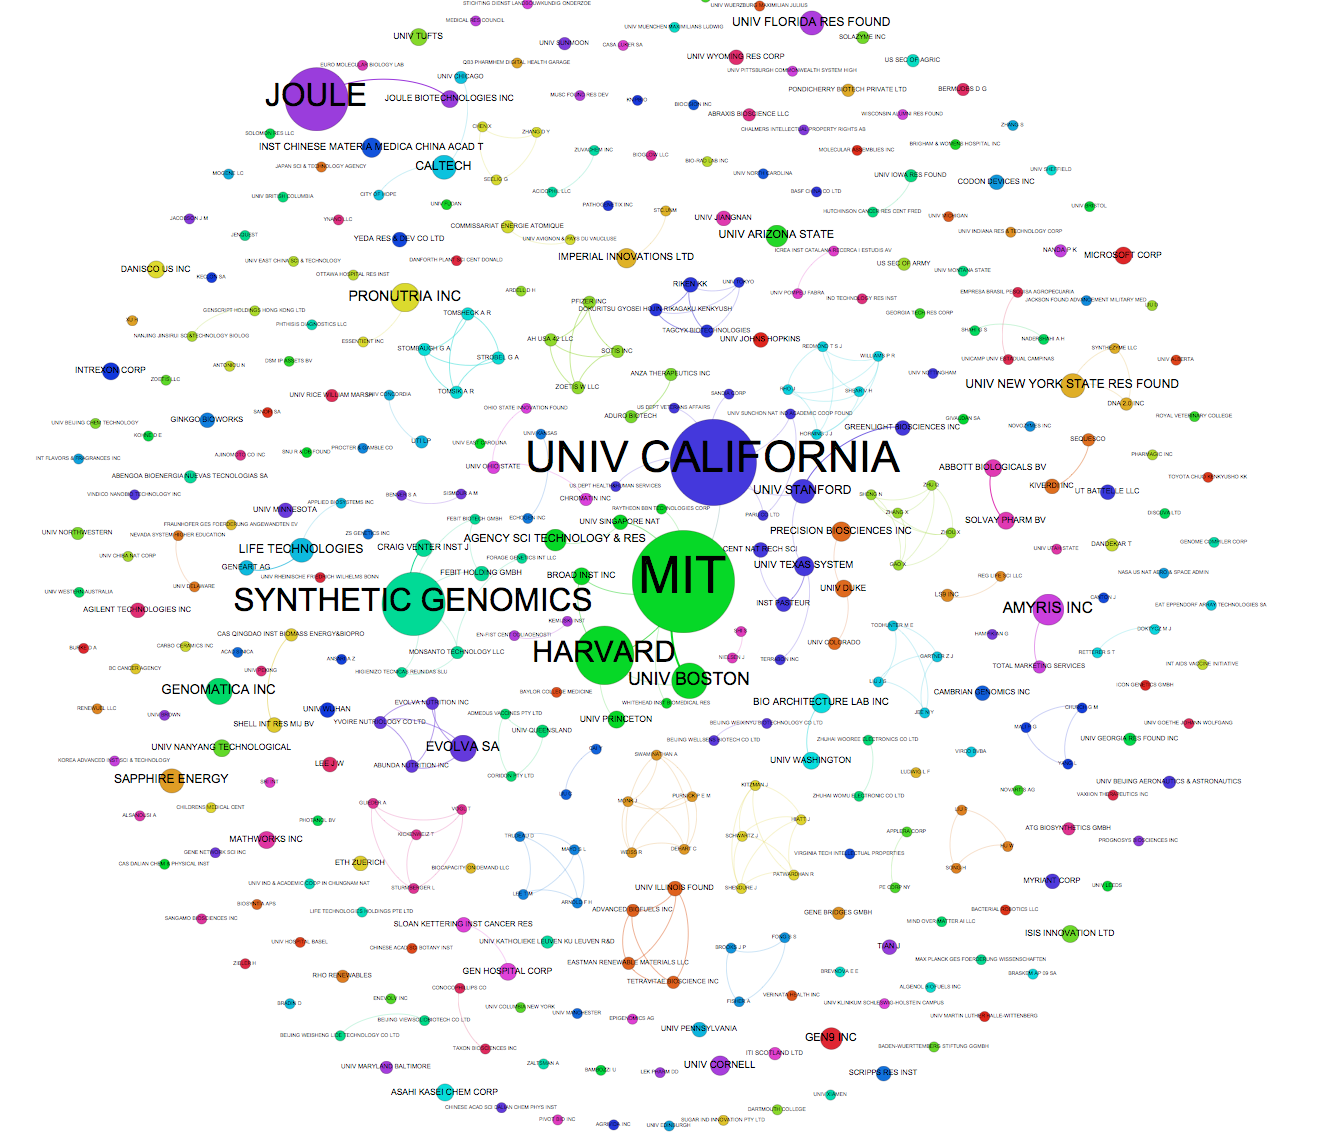
Here is an example of a network visual created in Gephi and saved in images.
Sizing images
There are a number of ways of sizing images using the knitr package. One of the simplest is to size images in R code chunks.
To inserta code chunk use Ctrl Alt I on Windows or Cmd I on a Mac.
In the code chunk heading we could specify the width of a figure as percentages and we might also want to centre the figure {r out.width = "50%", fig.align = "center"}. We would then include a call to knitr::include_graphics() with our image address in quotes as below. Note that the knitr documentation specifies that you may need to install.packages("png") and install.packages("jpeg") for automatic calculation of the width of images.
For most purposes something like this will work for a web page display. To exclude the code chunk that you see below change echo = TRUE to echo = FALSE. That will display the image but not the code chunk.
knitr::include_graphics("images/fig31_adjust_nodes.png")